In today’s driving environment, having a dash cam is less of a luxury and more of a necessity. From capturing evidence during accidents to deterring theft and even assisting with insurance claims, dash cams offer real-time protection and peace of mind for everyday Aussie drivers.
Whether you’re a tradie navigating Melbourne’s busy streets, a rideshare driver covering hundreds of kilometres each week, or a parent wanting extra eyes on the road—a well-installed dash cam can be your most reliable witness.
But installation matters. A poorly placed or incorrectly wired dash cam could render it useless when you need it most. That’s why we’ve created this complete dash cam installation guide for Melbourne drivers—covering everything from selecting the right camera to post-installation tips.
Let’s break down the process of installing your dash cam, step-by-step. Whether you’re a confident DIYer or just looking to understand the process before booking a professional install, these steps will guide you through.
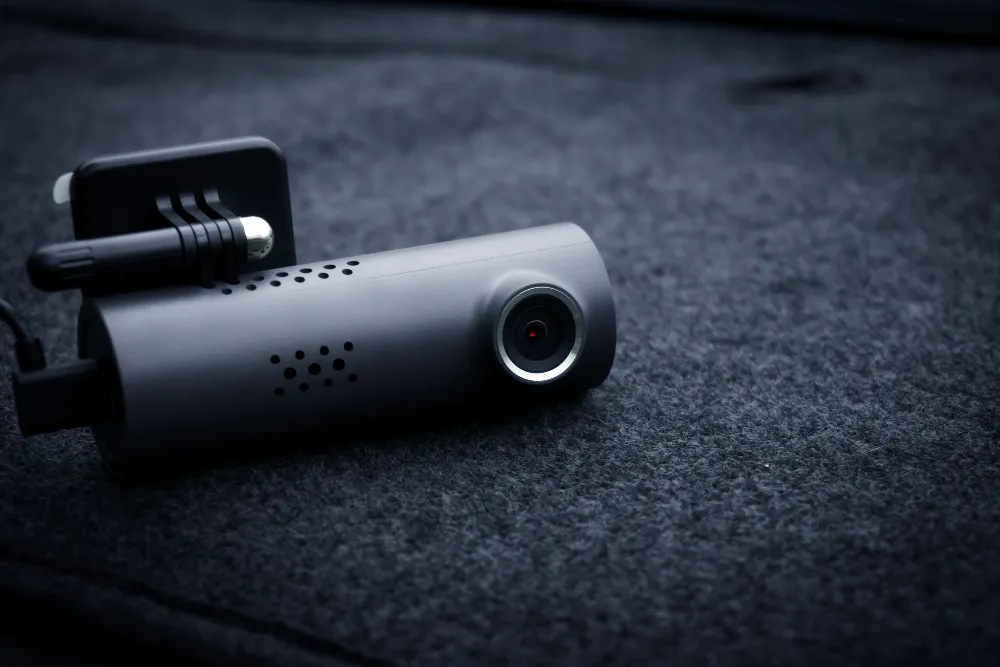
Not all dash cams are created equal. Your choice should reflect how you use your vehicle and what you expect from your camera.
Pro tip: Choose a reputable brand that offers Australian warranty support and suits local conditions. DNH Dashcam Solutions offers a curated selection ideal for Melbourne drivers.
Before installation, make sure you’ve got the right tools on hand. A clean and organised setup makes all the difference.
You’ll need:
Optional (for hardwiring):
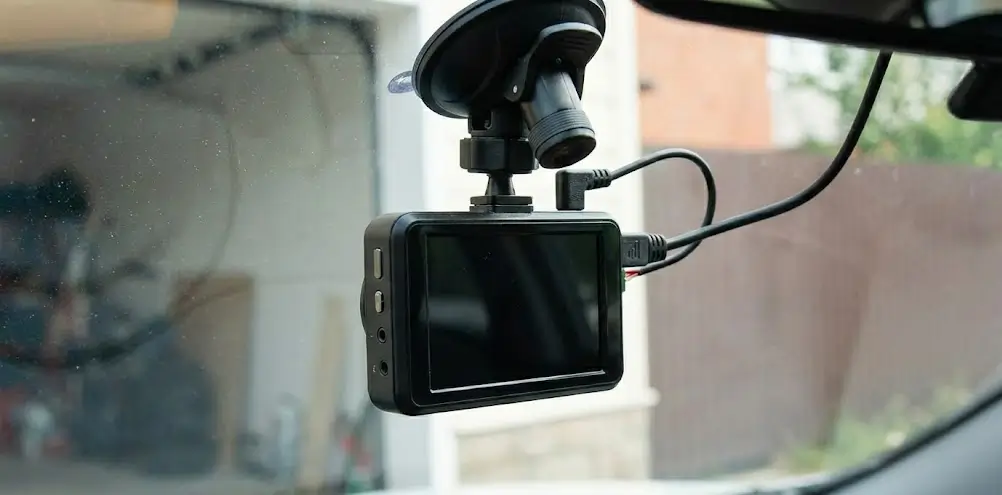
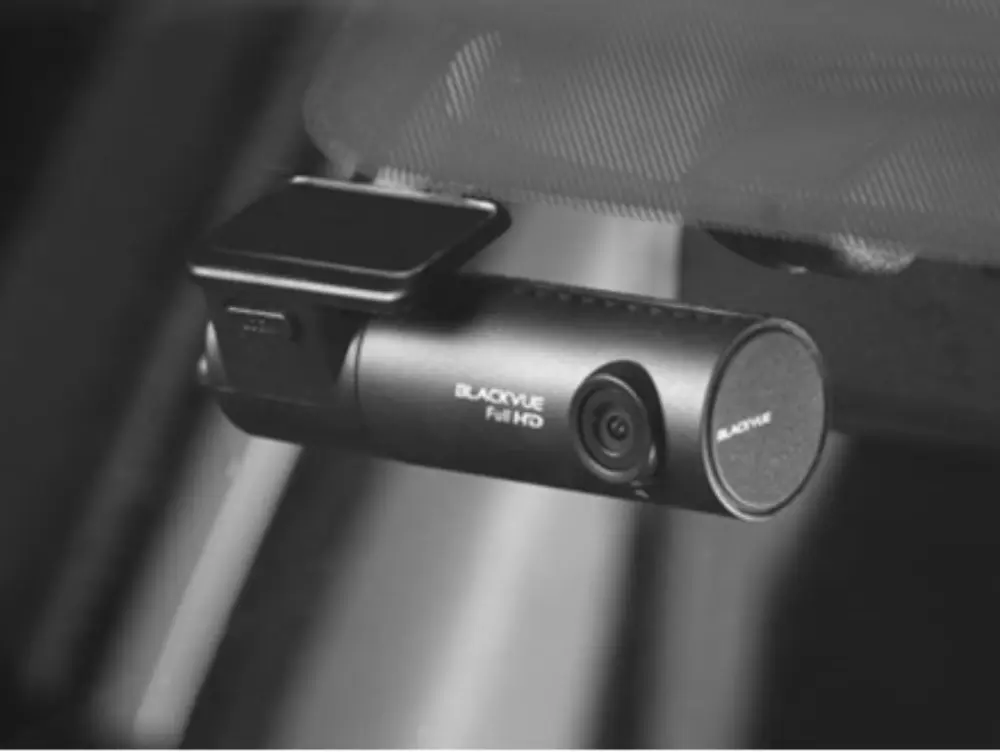
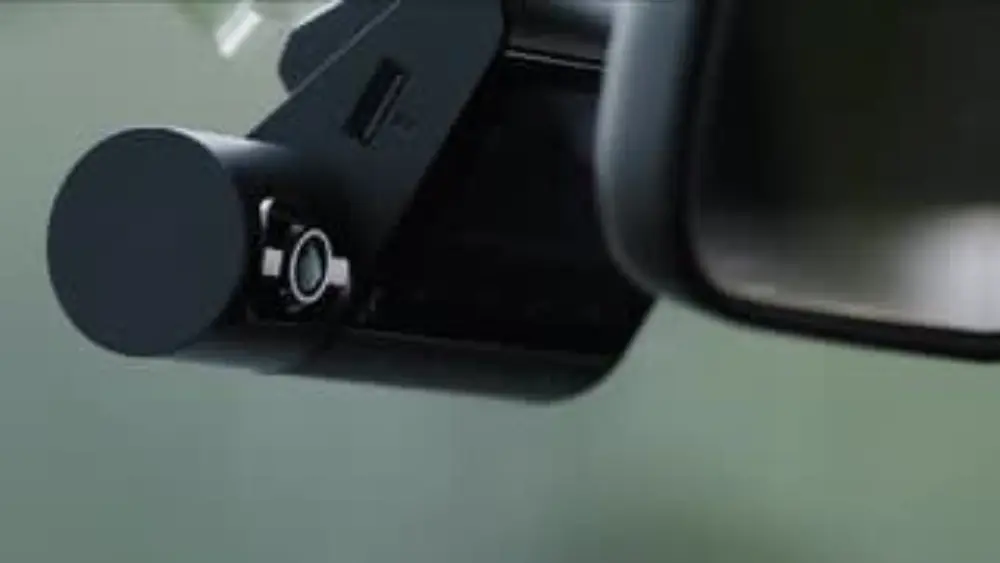
Proper placement ensures your dash cam captures the right footage without obstructing your view. In Victoria, dash cams must be mounted in a position that doesn’t interfere with the driver’s line of sight.
Ideal placement:
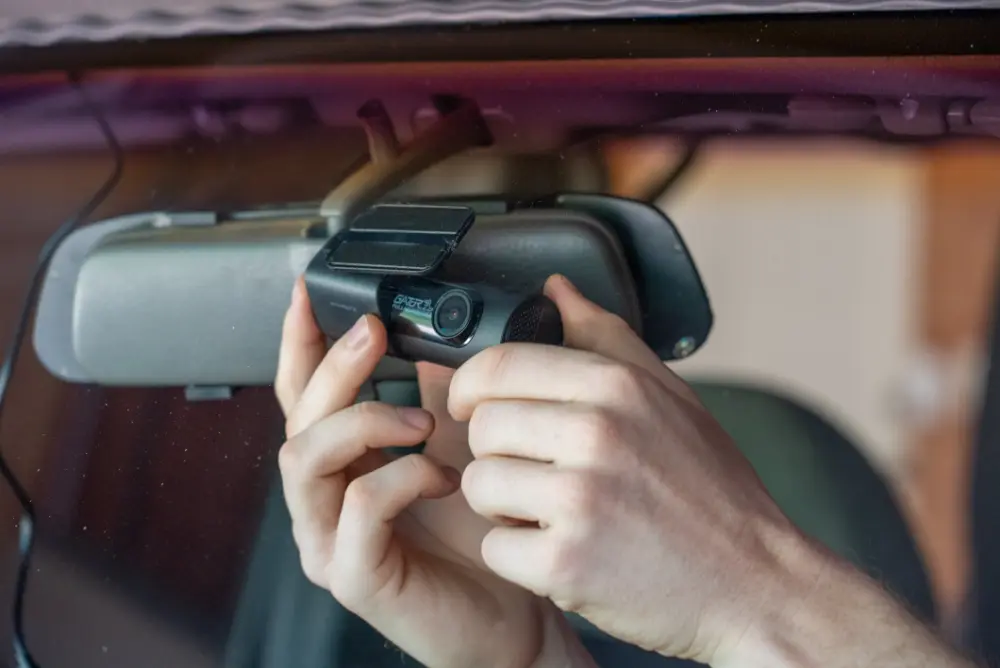
For rear cameras:
Pro tip: Clean the glass thoroughly before sticking the mount. Poor adhesion can cause the cam to fall off over time.
Clean wiring isn’t just about looks—it prevents distractions and avoids interference with airbags and driving controls.
You’ve got two options:
Wiring tips:
Depending on your method of installation:
For plug-in installs:
For hardwired setups:
Important: Always test with the engine off and on to ensure proper power flow.
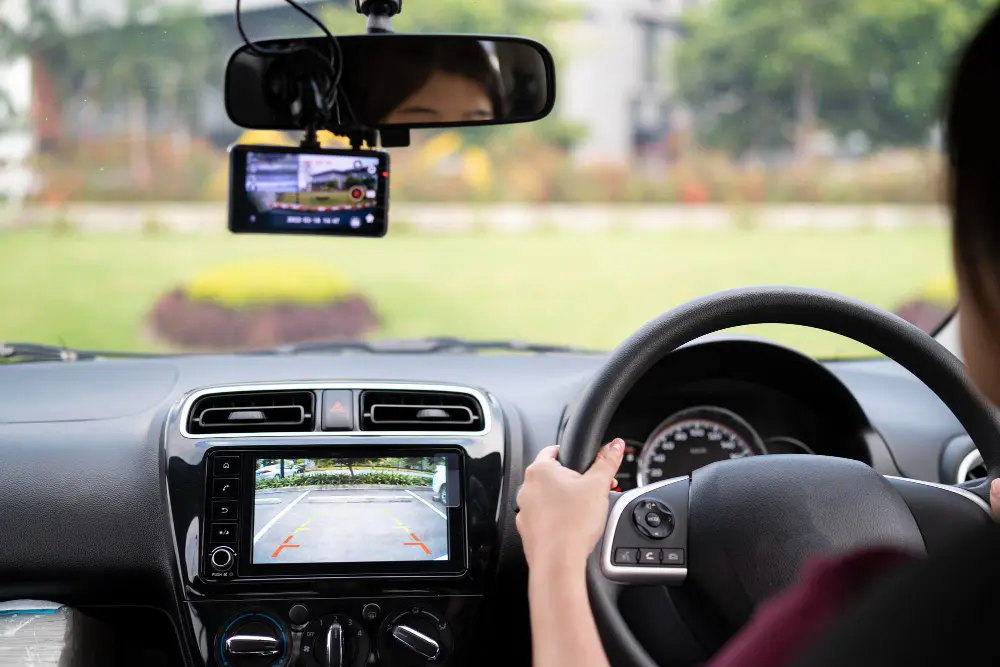
With everything in place, it’s time to test your dash cam.
Run through this checklist:
Adjust camera angles and settings via the app or onboard screen. Insert the MicroSD card and format it before first use.
Tips for a Cleaner, Safer Installation
Installing a dash cam is more than just sticking it on the windscreen. Here are some extra tips for the best results:
While a DIY dash cam installation is doable for many, it’s not always the best option—especially for newer vehicles with complex electronics or when parking mode is essential.
Here’s when to consider professional installation:
A professionally installed dash cam ensures:
A properly installed dash cam is a powerful tool for enhancing road safety, protecting your vehicle, and providing clear evidence when needed. Whether you’re driving daily through Melbourne’s CBD or taking weekend trips across Victoria, your dash cam is your second set of eyes.
This comprehensive dash cam installation guide Melbourne drivers can trust provides everything you need to know—but if you’re ever in doubt, it pays to bring in the pros.
DNH Dashcam Solutions is Melbourne’s trusted name in dash cam supply and professional installation. We offer expert advice, premium camera systems, and tailored installation services for all vehicle types—whether you’re a delivery driver, tradie, or busy parent.
For peace of mind on every journey, contact DNH Dashcam Solutions today.
Visit dnhdashcamsolutions.com to explore our range or book a professional dash cam installation in Melbourne.
Let us help you protect what matters—every time you hit the road.