TL;DR: Correct dash cam placement makes the difference between usable evidence and a blurry, useless clip, a few centimetres can decide whether number plates and faces are readable. Mount high and central behind the mirror, keep the horizon level, stay inside the wiper sweep, and secure wiring so the camera records what matters when you need it.
Key Takeaways:
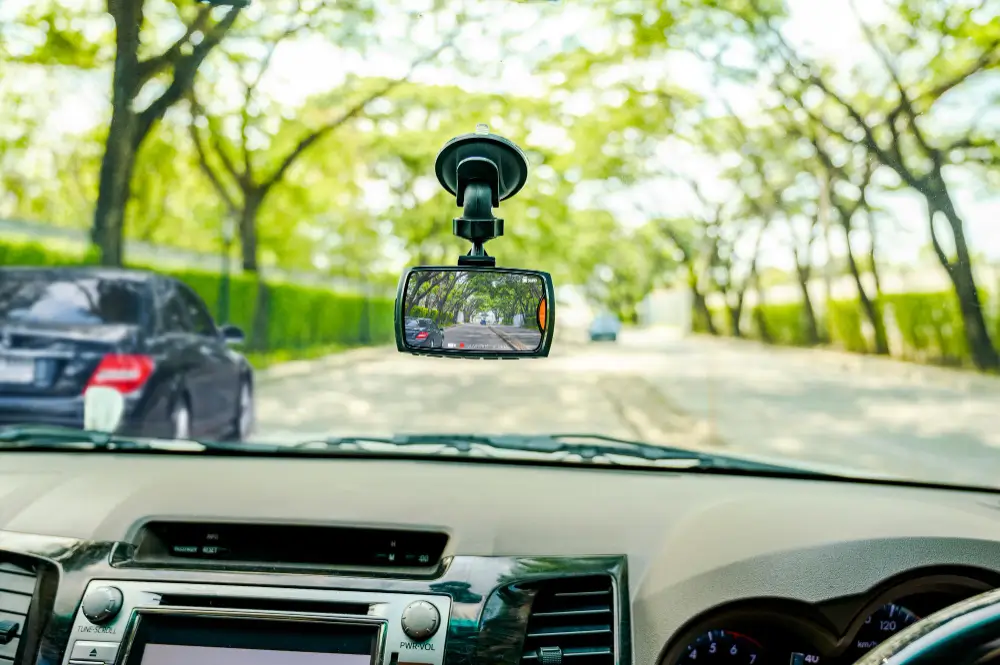
Most drivers obsess over resolution and night mode while overlooking the one factor that controls every frame the camera records, where you stick it on the glass.
Two identical units can tell very different stories because a few centimetres change what the lens catches, from traffic lights to number plates.
Place it poorly and you invite glare, shake, and blind spots that turn key moments into guesswork.
When you need evidence for insurance or a police report, a misplaced camera can leave you with blown highlights and unreadable plates.
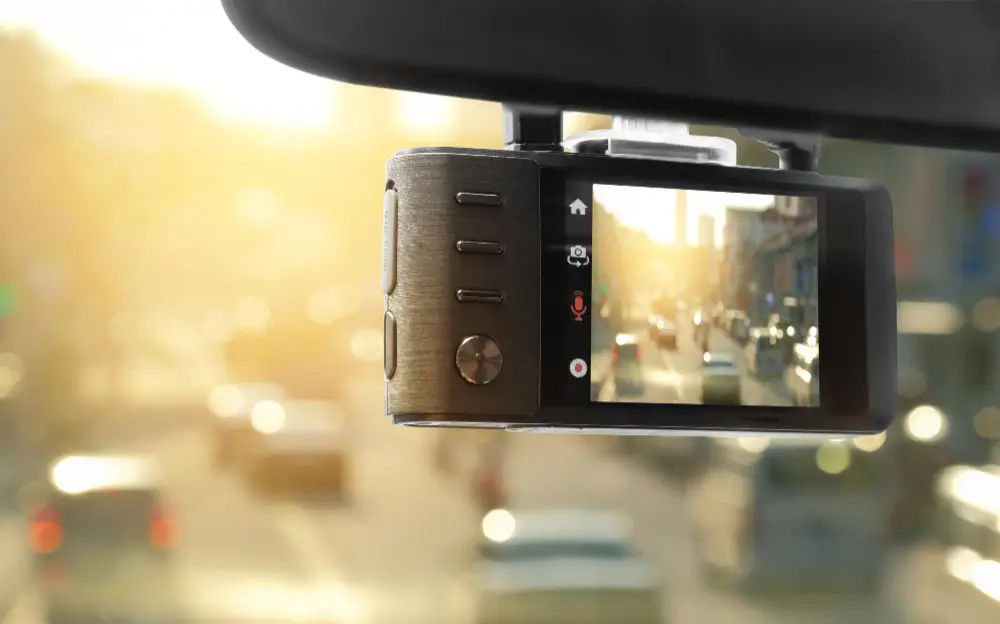
The best dash cam placement is not a single universal spot, because every windscreen angle, rear-view mirror shape, and bonnet line is different.
Instead, it is a set of sightline rules that keep the lens centred, stable, and unobstructed so it captures plates and faces under real-world Australian light.
For a deeper look at why a bigger viewing angle is not always better for plate readability, read this guide on viewing angles.
Small errors quickly add up on the road, but most of the common mistakes are straightforward to fix once you know what to watch for.
Work through this short list before you stick anything to the glass so your camera records what matters when you need it.
Low placement increases dash reflections, adds wiper sweep lines, and makes the bonnet dominate your view. It also draws more attention from outside, which is not ideal when you park on the street.
A slight tilt makes motion blur worse because objects smear diagonally rather than horizontally, which confuses plate recognition.
Off‑centre alignment can also bias the frame toward the kerb or median and miss what happens across lanes.
The dotted ceramic frit around many windscreens looks dark and tidy, yet it scatters light and forces your exposure to hunt.
Avoid placing adhesive pads over frit or aftermarket tint strips and stick to clear glass for clean optics.
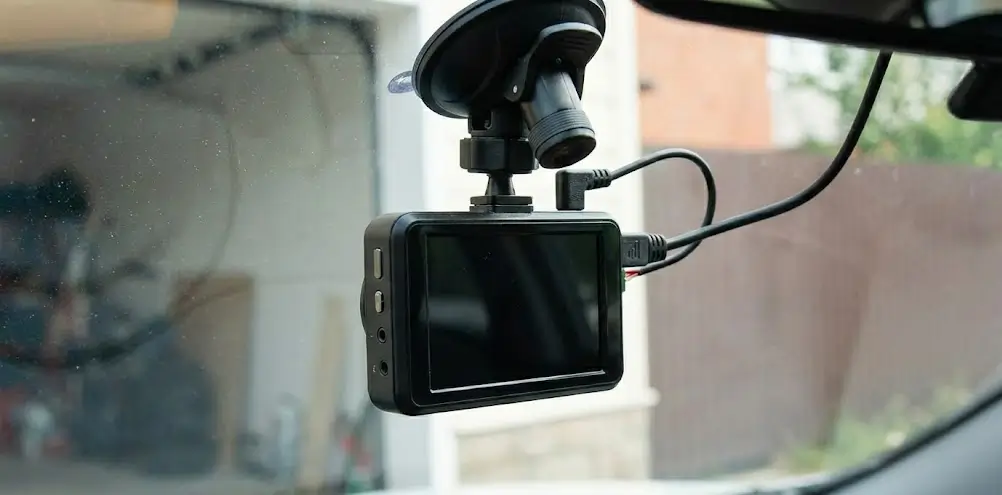
Leaving no air gap amplifies vibrations and introduces micro-contacts that squeak, smear, or scratch over time. Use the supplied bracket as designed so the body is close to, but not touching, the windscreen.
Learn how modern sensors can do more than trigger an impact to predictive crash detection.
Australian sun punishes electronics, so placement decisions must consider heat soak and long summers.
High central mounting keeps the unit out of direct sun longer, while quality adhesive and hidden wiring prevent sag or failure when the cabin gets hot.
Push the lens close to clean, clear glass and wipe both sides so road film and dust do not soften fine detail.
If your camera supports one, fit a circular polarising filter to cut dash reflections and help number plates stand out against bright skies.
If glare still shows up, make small angle tweaks and test again on the road rather than moving the mount a lot.
Remove or dull any shiny dash objects that act like mirrors because even tiny reflections can wash out plates, especially at night.
Place the lens so it sits well within the main wiper sweep, which keeps raindrops and road spray off the glass and preserves fine detail.
Give it a quick water test with your washer and review the recording.
If the footage shows a clean arc the lens is in the right spot, but if you see streaks or smeared bands, nudge the mount up or down by a few millimetres and test again.
Modern vehicles hide sensors and airbags behind trim, which is why copying a friend’s setup can end badly. Spend a minute mapping your windscreen hardware before you stick anything down.
Do not block the driver assistance camera or rain sensor shroud, and always keep wiring outside airbag deployment paths. If in doubt, choose a slightly offset position that clears the plastic cover while staying high and central.
Hatchbacks often suffer from rear-glass grime that washes down from the roof, so mount a touch higher to stay in the wiper arc.
Utes with canopies may need the rear camera inside the glass with cable protection through the canopy grommet for a clean, sealed run.
Use this two-minute checklist any time you install or adjust a camera so you can trust your footage on busy Melbourne roads. Tick each item and you are done.

DNH Dash Cam Solutions offers mobile, professional installations across Melbourne and fits quality gear with tidy, factory-style finishes that look like they belong with the car.
Our hands-on team prioritises safety, neat wiring and straightforward advice, and we back every install with local support.
An experienced installer does more than stick a camera to the glass.
They check windscreen angle, wiper sweep, sensor housings and cable paths so the result is sharper footage, fewer reflections and a tidy cabin you can rely on.
You could spend big on the latest sensor and still miss the moment that matters if the lens points at reflections and sky.
Invest a few extra minutes to nail placement and your existing camera might surprise you with just how clean and reliable the footage becomes.